Saving Wet Photos
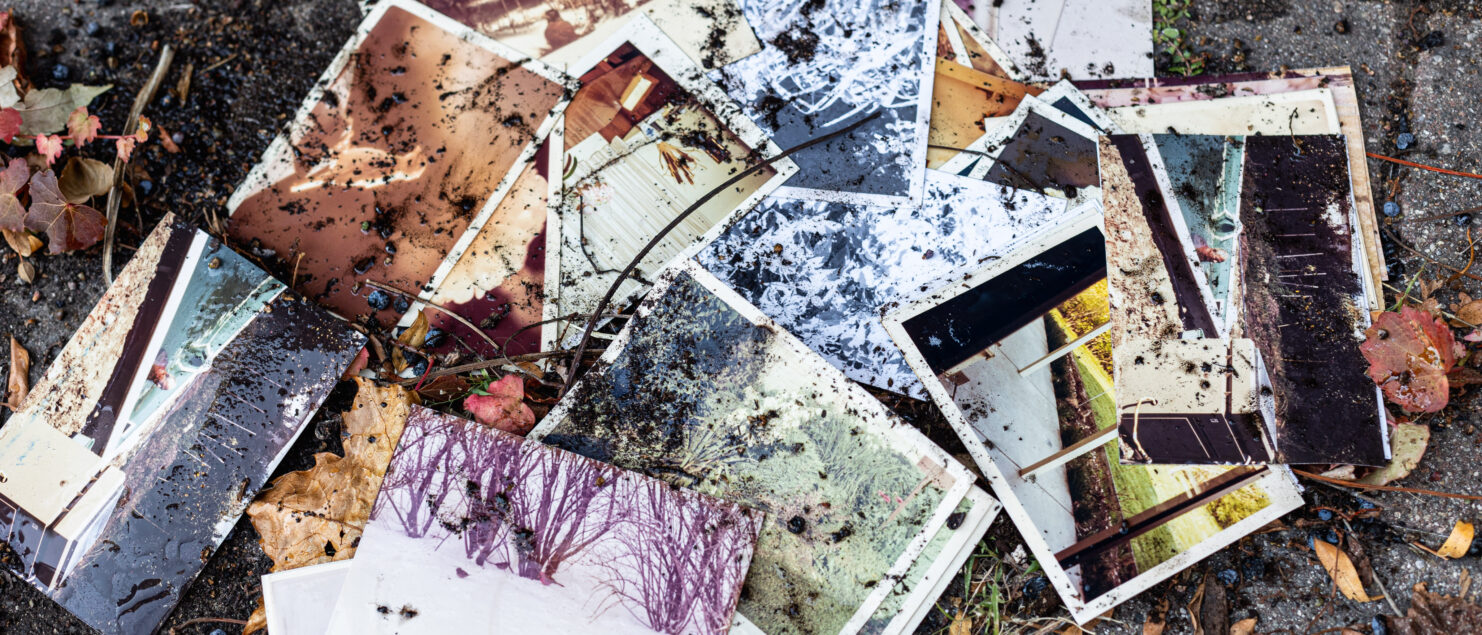
Water damage from hurricanes, tornadoes, floods, and leaks can be devastating to your home and your family photos. We’ve helped families in all these situations and want to share the best practices we use to preserve as much as possible.
Protect Yourself
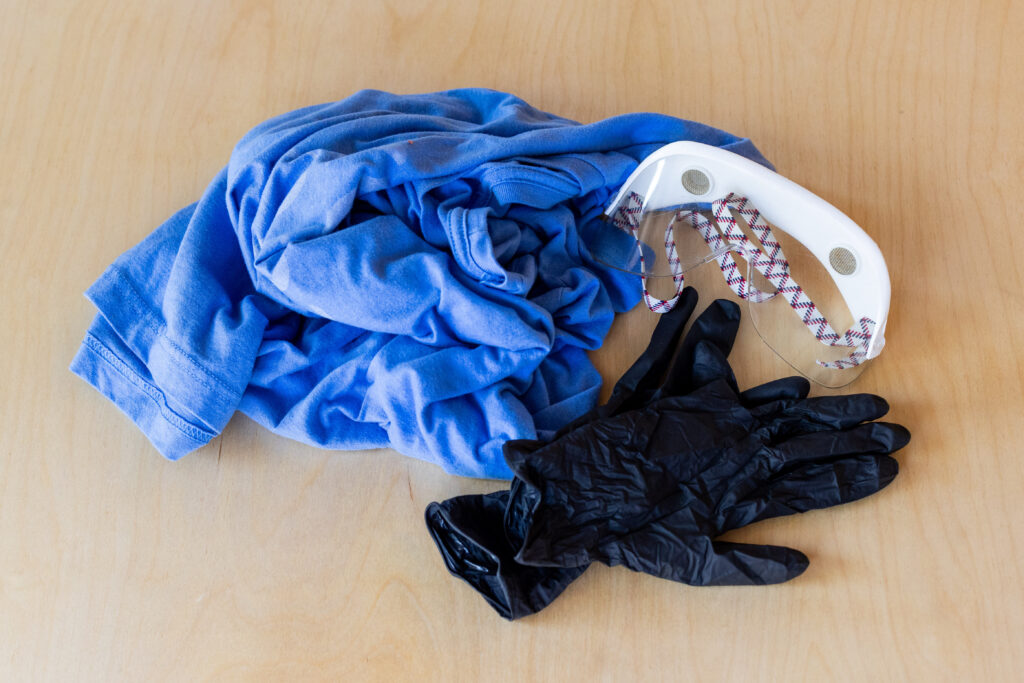
While you’re trying to protect your memories, don’t forget to protect yourself. Whenever possible wear gloves (nitrile or latex work well), a mask, and old clothes that you can discard. Eye protection is also a good idea. You don’t want to get sick from mold or other contaminants that might be in the water and on your photos.
It’s also important to consider where you work. It’s common to have water-damaged photos in your basement, but you shouldn’t work there. Instead, work in a well-ventilated location such as a garage to protect your health and your photos. Stay away from children, animals, bright sunlight, wind, and dust while you’re working as these can all make a bad situation worse.
Understand the Risks
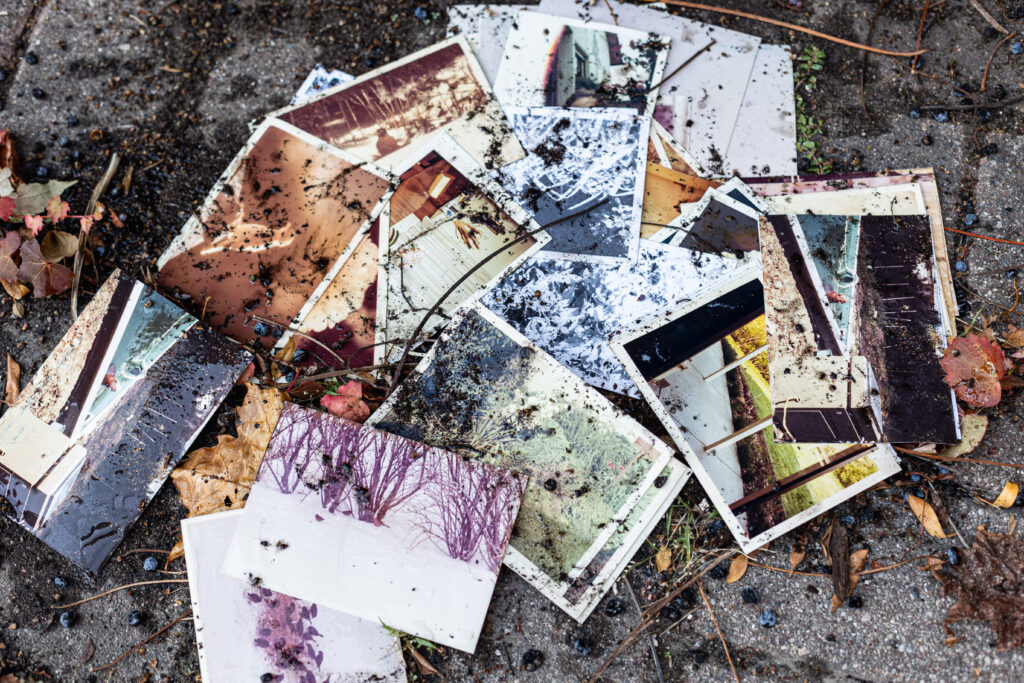
If you’re trying to preserve water-damaged photos, it’s helpful to understand the risks you’re facing and the problems you’re trying to solve. There are many ways that water can damage photos, but these are the top four we deal with:
Dirt
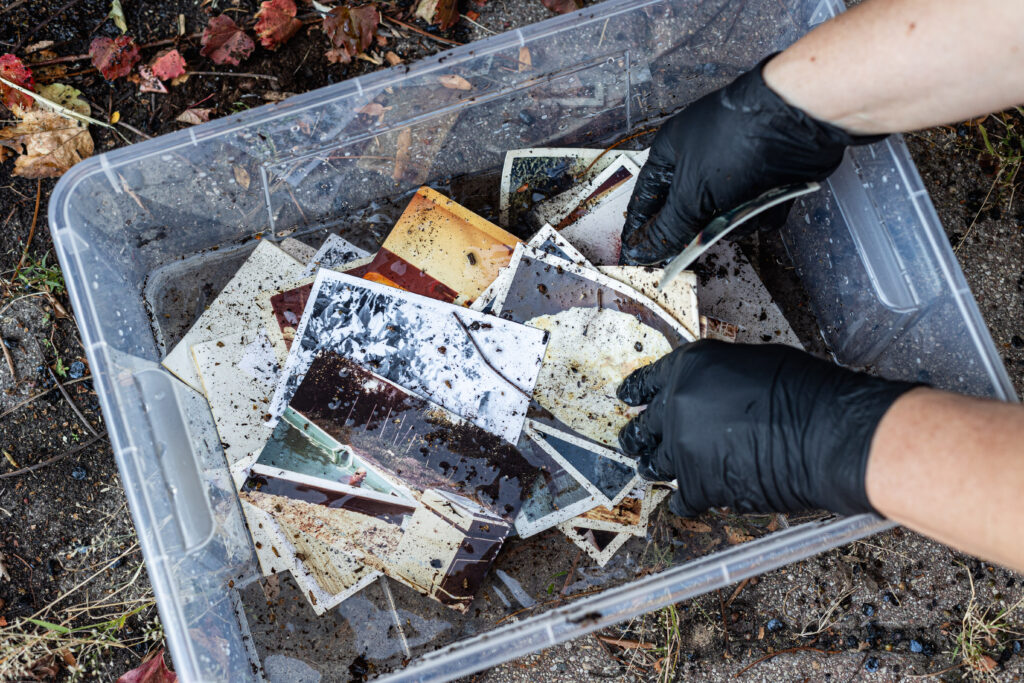
It’s very unlikely that your home would suffer water damage from completely clean water. Instead, you’re probably dealing with dirt, mud, sand, and other debris that came along with the water. Even if you’re not dealing with a natural disaster, a sewer backup will definitely make a mess. This means your photo rescue plan needs to include cleaning and drying your photos.
Mold
Even if your photos are damaged by clean water such as a burst pipe, the second major risk you’ll face is mold. Recovering water-damaged photos is an urgent task because mold can start growing in as little as 48 hours.
Sticking
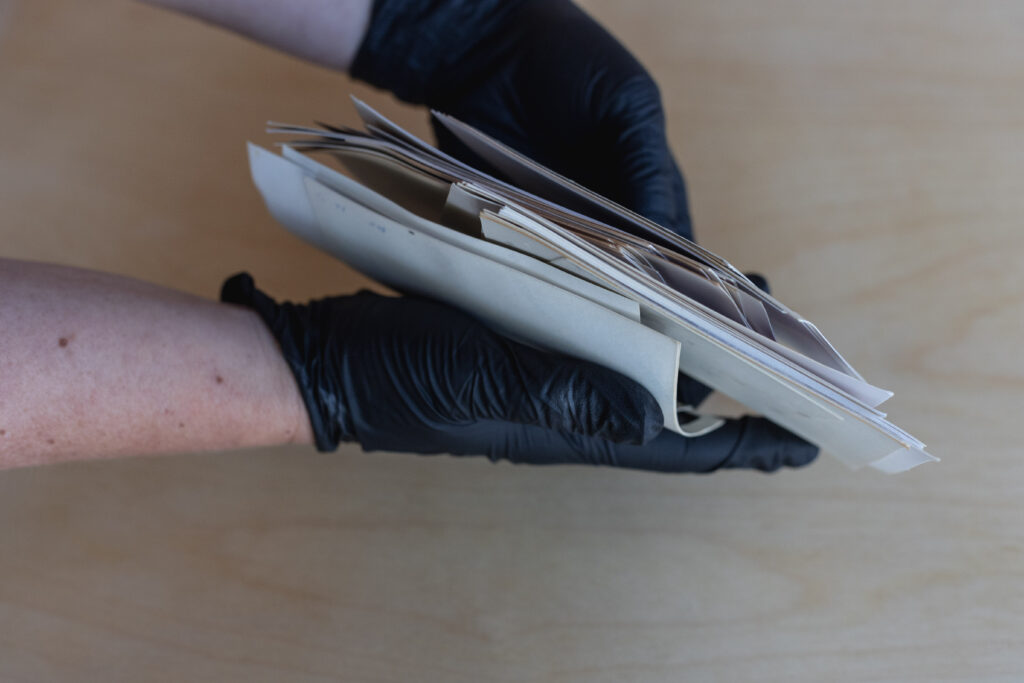
Wet photos tend to stick to each other or to their storage, including albums, frames, and plastic sleeves. As if the water damage wasn’t bad enough, a wet stack of photo prints can quickly turn into a “brick” of photos that are very difficult to separate.
Curling
Even if you can clean, separate, and dry your photos quickly enough to avoid extensive damage, your photo prints will probably turn out curled or wavy. This isn’t the worst problem, but even in the best situation your water-damaged photos will probably never be the same again.
If you feel overwhelmed by the mess in front of you, take a deep breath. Keep reading because we have good advice for the best way to minimize the risks from all these issues.
What NOT To Do
If your photos are damaged, then it’s likely that your home is also damaged, your life is upended, and you’re feeling a lot of stress. Before you panic, please read this list of what NOT to do with your water-damaged photos:
Don’t Discard
You might feel overwhelmed or angry about your situation, but don’t throw your damaged photos away. You might have to do that later, but for now keep them and try the advice in this article.
Don’t Wipe the Fronts
If your photos are wet or dirty, don’t wipe the fronts of the prints because this can permanently scratch the image area (aka emulsion).
Don’t Let Them Dry Dirty
The only thing worse than wet and dirty photos is dried and dirty photos. If you can’t clean them right away, keeping them moist until you can clean them almost always yields better results.
Don’t Use Soaps or Solvents
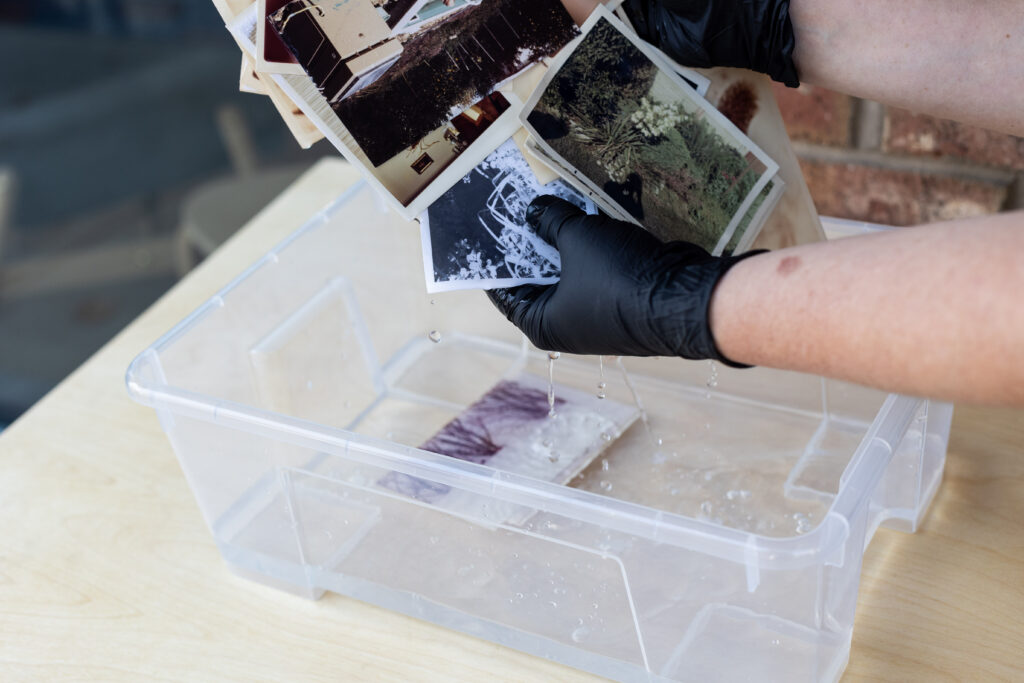
Cleaning dirty photos is essential for preservation, but soap or solvents can permanently damage photo prints. Photo prints were made using water, and all you need to clean them is water.
Don’t Stack Them Together
It’s common for photos to be stacked in envelopes and boxes, but if a stack gets wet you risk losing all of them at the same time. Do everything you can to keep wet photos separate instead of stacking them.
Don’t Treat Everything the Same
Depending on the size of your collection and the scope of the damage, you might need to prioritize some photos over others. For example, if some photos are more damaged than other then focus on those and set aside the dry/drier prints. If you have negatives that match heavily damaged prints, then it probably makes sense to focus on the negatives which usually hold up better after water damage and can be scanned and reprinted to replace the damaged prints. If you have damaged prints from digital files, we suggest making them a lower priority because you can make new prints from the digital images. And finally, you might prioritize your favorite photos such as your wedding album, baby portraits, or heritage prints.
Gather your Tools
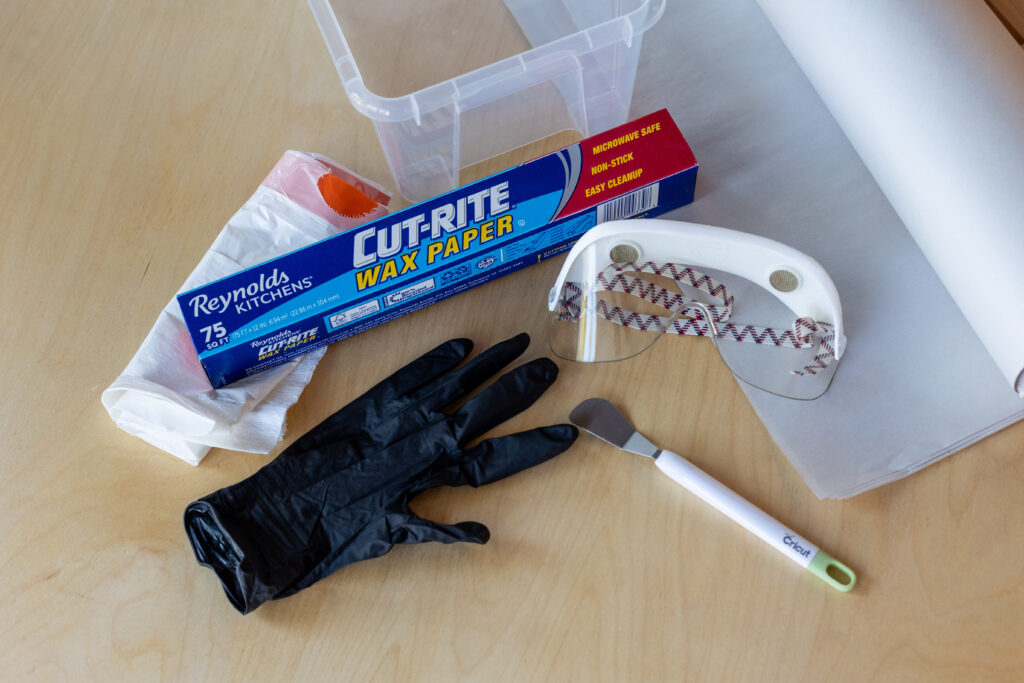
Professional archivists use a long list of tools to preserve and restore family photos, but in an emergency these basic household items are all you need to get going.
Gloves and a Mask
A pair of nitrile or latex gloves will minimize further damage to your photos, and a mask will minimize health risks for you from mold, dirt, and other debris that have damaged your home.
Plastic Bins or Glass Cookware
One of your first priorities will be to clean dirty photos in water, and you can use plastic bins or glass cookware as your photo bath. Casserole dishes and glass pie plates are just as effective as plastic storage containers.
Clean Water
Printed photos are made with water, so it’s usually safe to wash them in water to preserve them. Your best option is distilled water, but if that’s not available then tap water also works. The water temperature should be room temperature or cool, but not hot.
Wax Paper
One of the worst things about wet photos is that they easily stick to each other, but wax paper is an effective way to keep them separated.
Utility Knife
Separating photos is an important step in preserving water-damaged photos, and a utility or craft knife can help you remove photos from photo albums and plastic sleeves.
Trash Bags
As you clean your damaged photos there will be lot of trash including old photo albums, paper envelopes, and photos damaged beyond repair.
Clean Paper
One of the the last steps in the recovery process is drying cleaned photos. You’ll want to use clean newsprint or unprinted paper towels (nothing with ink or color) as a drying surface.
The Process
If you’re dealing with a significant disaster then you’re juggling a lot of priorities. When you have time and energy to tackle your photos, below is the five-step process we recommend:
Step 1: Keep Them Wet
This might sound unintuitive, but water isn’t the worst thing for photos. If photos dry together or while still dirty, then the recovery is much more difficult. Therefore, keeping them wet until you can clean them might be your best strategy.
One option is to keep them wrapped in a plastic bag, but with two warnings:
- Don’t leave them wrapped too long because mold can starting growing in as little as 48 hours.
- If you place your photos in a garbage bag to keep them moist, mark the bag clearly so they don’t accidentally get thrown away.
Another option is to let the photos soak in a bath of clean water until you can clean them. But be aware of these two risks:
- Fiber-based prints are made from cotton or wood pulp and are more easily damaged by extended exposure to water. If your prints are from the 1940s or earlier use extra caution.
- Soaking too long can soften the emulsion (image area) and ruin photo prints. Pay attention to your photos and start by testing the process with less valuable prints.
Step 2: Separate Them
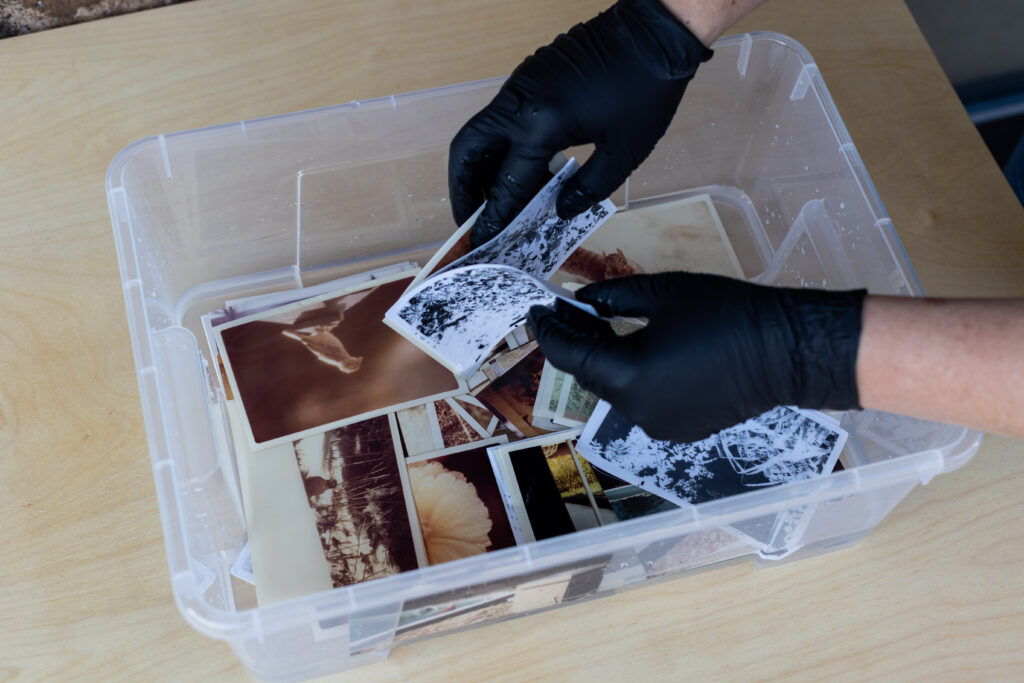
One of the worst things about water damage is that it makes photos stick to sleeves, albums, and each other. The best way to recover damaged photos is to separate them from each other and from sleeves, albums, and other storage.
Special care should be taken with:
- Framed photos are likely to stick to the glass. Soak the frame in water, but don’t separate the print from the glass if it tears the emulsion. You can discard the frame, but keep the glass (if necessary) and the print.
- Photo albums can be full of dirt and sand, so instead of pulling prints and scratching them use a utility knife to cut the photos out of their pages and sleeves.
- Stacked photos can stick together like a brick. Soaking them in cool water can help loosen them from each other. Be patient and don’t force them apart or you might permanently damage the prints.
As you separate the prints, be prepared to discard non-photo items including paper, envelopes, receipts, and albums. Wrap these securely in plastic trash bags to minimize the risk of exposing yourself and your home to mold.
Step 3: Clean Them
Your next priority is to clean them gently in a plastic bin or glass bakeware filled with water. Distilled water is your best option, but tap water is fine if that’s all you can access. Cleaning should be done by rinsing the prints in a bath of cool water, but don’t use soaps, solvents, brushes, heavy scrubbing, or high pressure.
Gently move the print through clean water and change the water regularly to keep it fresh. Run each print through a second container of distilled water for a final rinse.
Step 4: Dry Them
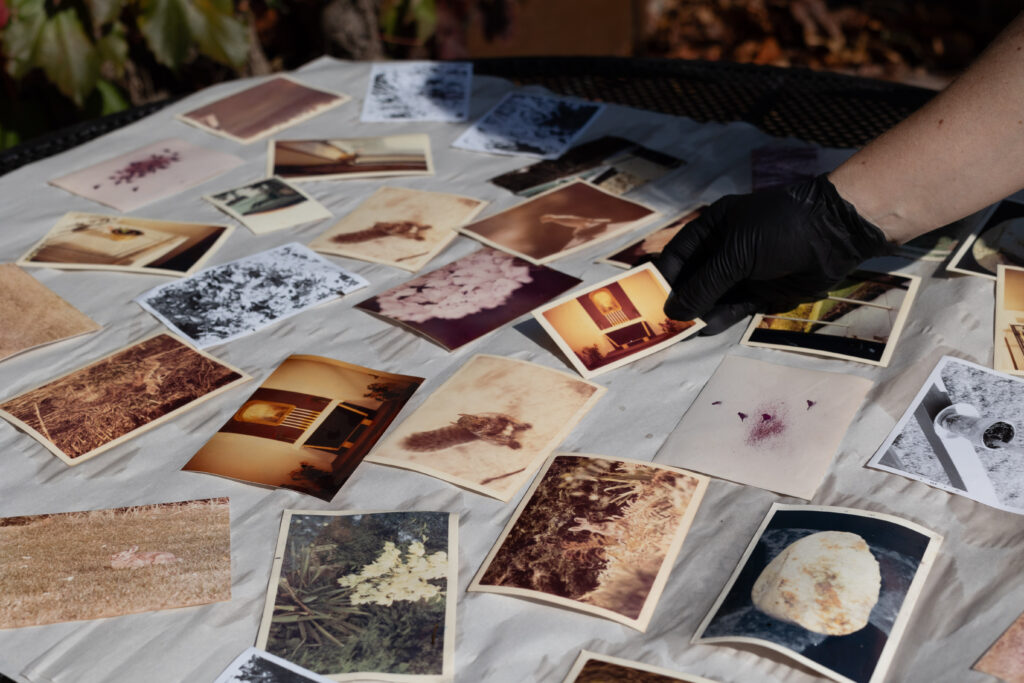
After your photos are separated and cleaned, it’s important to dry them before mold starts growing. Arrange photos on clean newsprint or unprinted paper towels to dry, keeping them away from direct sunlight which will cause the images to fade. The paper will accelerate the drying process, but you don’t want any color or ink on the paper because it can be absorbed by the wet prints and cause more damage.
Keep the area as dry as possible with fans, dehumidifiers, and air conditioning, but avoid windy and dusty environments which can disturb and dirty the prints. Depending on the number of photos and the size of your working area, you might have to clean and dry then in batches. Prints might curl or winkle as they dry, but you can press them under heavy books when they’re completely dried.
Step 5: Scan Them
After your prints are clean and dry, you can pat yourself on the back and catch your breath before the fifth and final step. To preserve what you have and prevent more damage in the future, you’re recovered photos should be scanned. The ideal resolution is 600 PPI (pixels per inch) for prints and 4,000 PPI for slides and negatives. After damaged prints are scanned the digital images can be enhanced to crop out mold or damage, repair scratches, and heal blemishes.
If your originals are in good condition then you might choose to keep the prints and re-house them in archival storage. However, if the originals are severely damaged, smell musty, or show signs of mold then it might be a good idea to discard the originals and reprint your favorites from your scanned images.
What if…
Our five-step process is what we recommend if you have time, tools, and space to work. But in a disaster things are stressful and overwhelming. Here are answers to a few common questions.
What if I have electricity but no time?
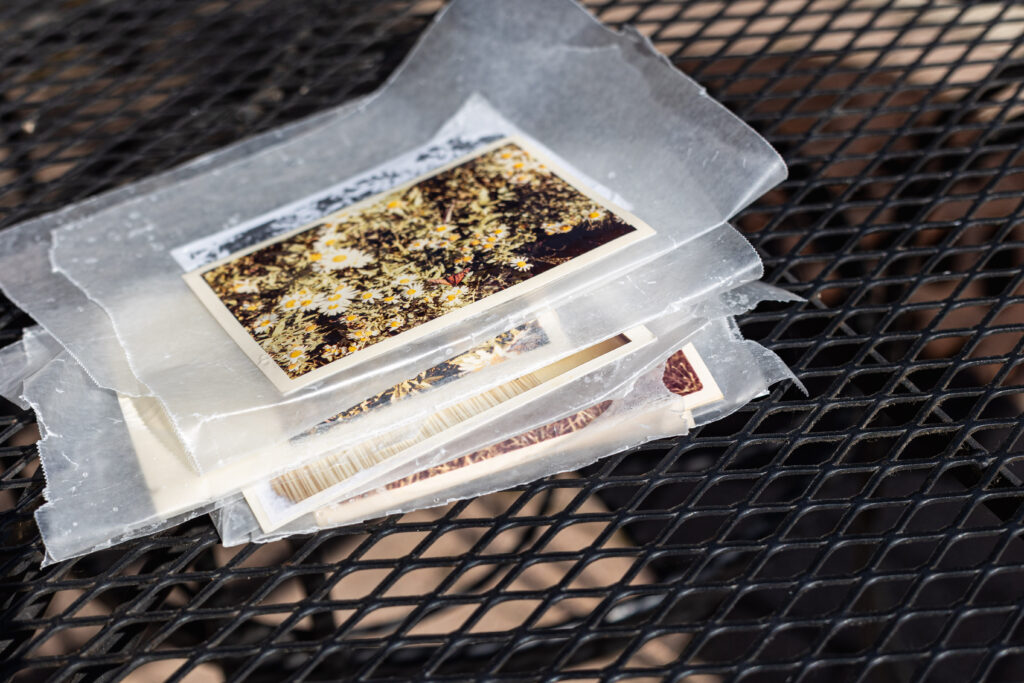
Rinse any wet/dirty photos with clean water and interweave them with pieces of wax paper. Then wrap bundles of photos in plastic (ziploc or trash bags are good) and store them in the freezer until you have more time to work. The freezing pauses (but doesn’t reverse) mold growth and the wax paper keeps the prints from sticking to each other.
What if my prints are already moldy?
Same as the previous answer. Interweave them with wax paper, wrap them in plastic, and put them in the freezer until you have time to work on them. Freezing pauses mold growth, but it can’t reverse mold damage that’s already occurred. When you have time to work, remove the photos one batch at a time and let them thaw before you attempt to separate or clean them.
What if stacks of photos are stuck together?
If you can work on them now then soak them gently in cool water. This should help them separate into smaller stacks and individual prints. Be patient and don’t force it. If you can’t work on them right away, wrap them in plastic and store them in the freezer. When you have more time, thaw one batch at a time before you rinse and separate them.
Conclusion
You can replace most things in a home including furniture and clothes, but it’s impossible to replace family photos. Your results won’t be perfect, but it’s better to act than be paralyzed. Inaction will result in the most loss, so recruit family and friends to help and do your best to follow these best practices.
Interested in working with Chaos to Memories?
If you’re near Chicago and ready to get started, come visit our Wheaton Studio Monday – Friday, 10-5. Please bring your memories with you.
If you live outside the Chicagoland area, we’re happy to send you a Project Form and Contract, along with shipping instructions, so you can get started on your project.
Contact us for more information.

