Seven Lessons for Organizing Photos
Before I launched Chaos to Memories, I scanned and organized my entire Family Photo Archive back to 1904. I enjoyed the experience, loved the results, and learned a lot from my personal project. I scanned and organized more than 10,000 prints, slides, and negatives for my project and here are seven lessons I learned along the way:
Keep the negatives and prints together.
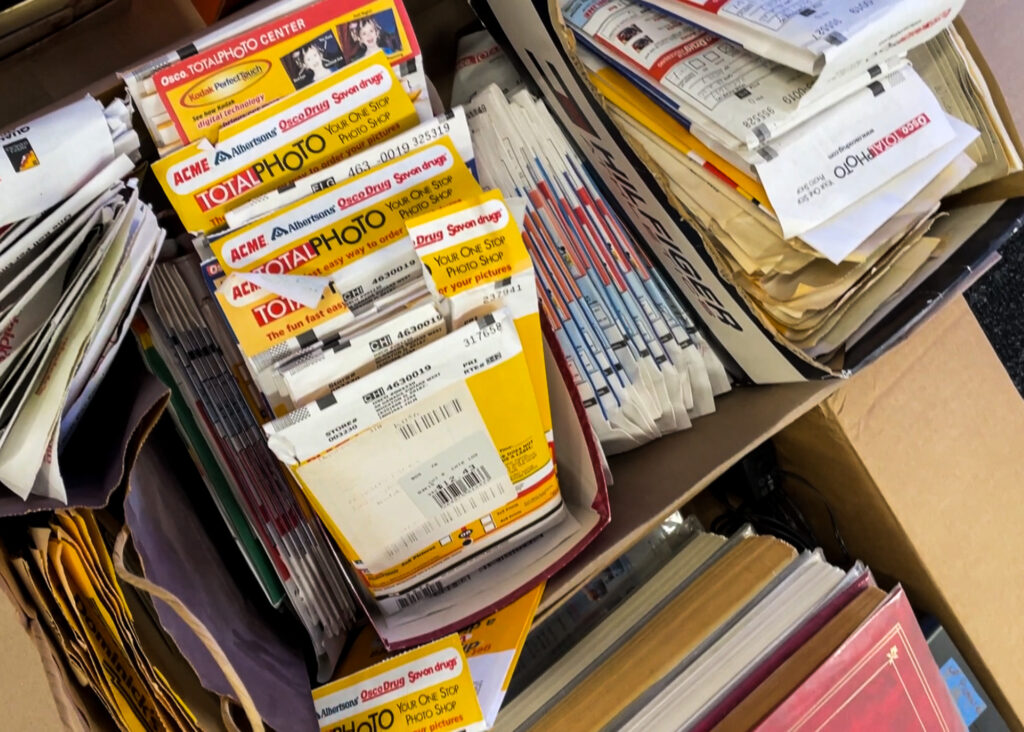
Some clients come to us and proclaim that they’ve thrown away or separated their “useless” negatives, when in fact those are usually the best format to scan. However, scanning negatives takes more time and costs more than scanning prints. Whatever you decide to have scanned, I recommend that you keep matching prints and negatives together so you don’t make the organization process any harder than it needs to be.

Keep all the clues.
People often feel overwhelmed by their photos and are motivated to tidy up and minimize their photo mess. However, it’s important to keep all the envelopes, receipts, and notes that are mixed in with your photo collection. These can be discarded at the end of the project, but for now they can offer important clues such as dates, notes, addresses, and postmarks that can help organize the photos.
Scan at the best resolution.
Some folks attempt to save money on the cost of their photo organizing project by choosing low resolution or low quality scanning. If you’re going to do all the work of gathering, organizing, and preserving your Family Photo Archive I strongly recommend you don’t cut corners on scan quality. This is a big and tedious project that should be done right the first time, so scan all your prints at 600 PPI and slides and negatives at 4,000 PPI and you won’t have any regrets
Don’t be surprised by unusual formats.
Most photo archives consistent of one major format such as photo prints or 35mm slides, but there are usually some surprise formats in every collection. For example, there might be some negatives, film reels, or even audio recordings mixed in that you’ll want to digitize and organize along with the rest of your memories. If you want to learn more about formats of photos, video tapes, and film then check out my Memories book.
Don’t wait to share.
Organizing decades of photos is a huge project and it’s easy to put your head down and get lost in the work. One of the best things you can do is to share fun memories throughout the process with family and friends. Sharing funny or memorable photos via text, email, or social media along the way is a great way to connect with others and keep up your motivation for a big project.

Use Archival Storage.
If you’re going to organize and scan your photo archive, don’t make the mistake of using cheap craft store photo boxes for longterm storage of the originals. We recommend archival boxes that are acid-free and lignin-free so that your original photos will be preserved as long as possible for future generations.
Don’t forget to print.
I love scanning and organizing family photos into a safe and searchable archive, but the real goal is to preserve memories, share stories, and connect with others. We recommend restoring any damaged photos and using the most memorable photos for wall prints or photo books.
I wish I had known these things when I started organizing my family photos, but I hope these lessons are helpful for you as you consider your own project. Don’t hesitate to contact us if we can help with anything!
Adam
Interested in working with Chaos to Memories?
If you’re near Chicago and ready to get started, come visit our Wheaton Studio Monday – Friday, 10-5. Please bring your memories with you.
Contact us for more information, shipping instructions, and to get started on your project.

