How to organize photos for scanning
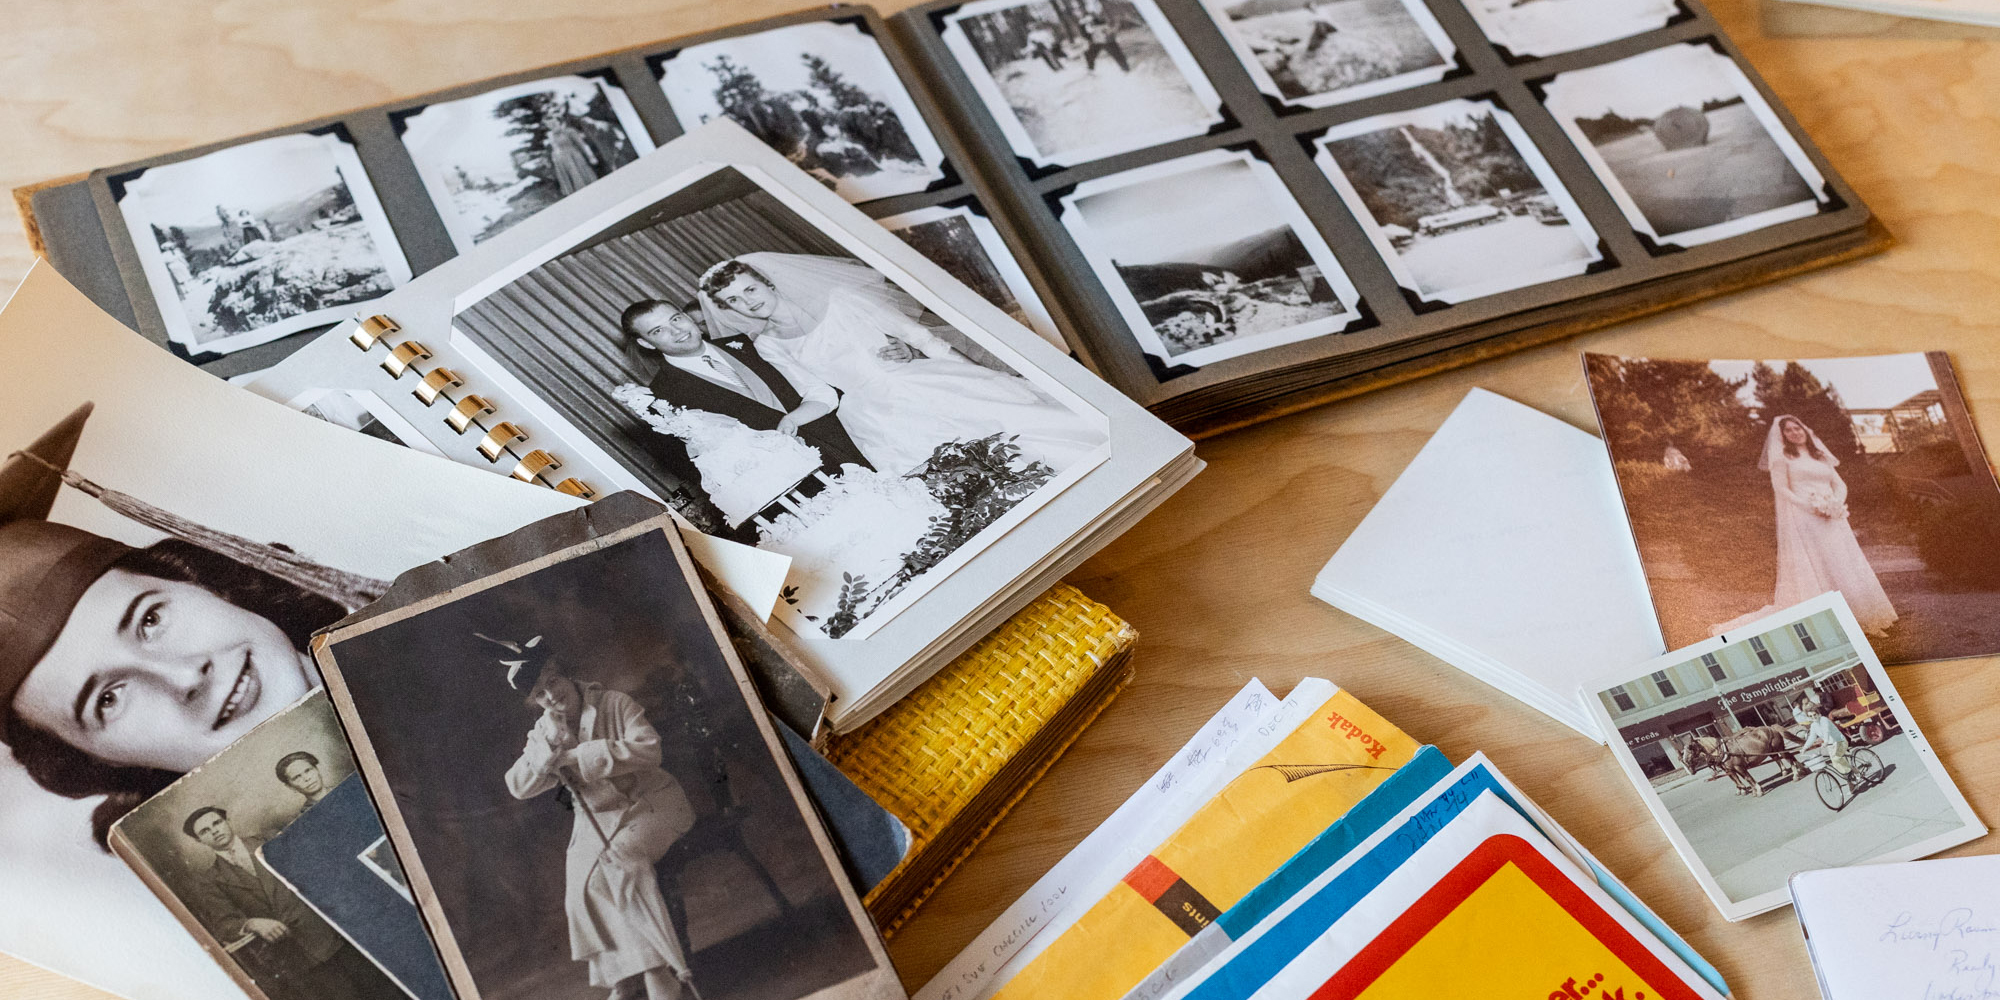
Lots of people want to scan their family photos so they’re preserved, accessible, and easy to share. But if you scan photos without organizing them first then you’re just converting your chaos and you still won’t be able to find and share your memories.
At Chaos to Memories we’ve developed an amazing process called the Easy Index Scanning Workflow that results in a scanned Family Photo Archive where:
- all photos are sorted chronologically
- all digital files and physical photos are matched up
- you get the best results with the least amount of work
We use the Easy Index Scanning Workflow on every client project and can complete the process for you if you feel overwhelmed by your photo organizing project.
If you want to organize your photos yourself before bringing them to Chaos to Memories to be scanned, then this is the process we recommend.
Supplies
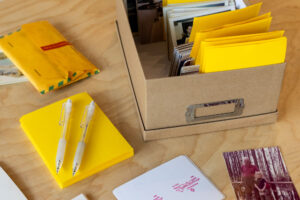
Index cards – start with at least one pack of index cards. Any size will do, but larger colored cards with no lines are our favorites.
Pencil – a wood or mechanical pencil with an eraser. For many reasons don’t use a pen.
Shoe boxes – after you label your batches of photos you’ll need place to store them until they’ve been scanned. We recommend shoe boxes or small plastic bins, and because this is temporary storage until they’ve been scanned you don’t have to worry about ensuring the boxes are archival quality (acid-free, lignin-free, etc}
Avoid: Do NOT use any of these items to mark or organize your physical photos as they can damage your originals and increase the cost of preserving your memories.
- Pens
- Markers
- Paper clips
- Binder clips
- Rubber bands
Process
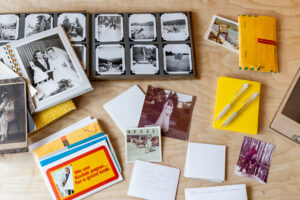
Now that you’ve gathered your supplies, the organizing process is very simple.
- Gather all your physical photos in one location, including prints, albums, boxes, envelopes, slides, and negatives.
- Grab the first batch of photos with a common date and subject. For example, you might have an envelope of prints from a family wedding in 1965 or a spring break in 1995.
- Write the date as accurately as you remember and the subject on an index card and place that batch with its card upright in a box. If you remember the exact date then include that on the card. If you don’t remember the exact date for a batch of photos then don’t add any false specificity. For example:
- If you only remember the year and month, then write 1985-10.
- If you only remember the year, then write 1985.
- If you only remember the decade, then write 1980s.
That’s the entire process! Label every batch of photos until every physical photo is in a batch and then bring your photos to Chaos to Memories so we can finish scanning and organizing your memories.
As you tackle this project here are a few tips to keep you going:
Don’t Merge Everything
It’s normal to have multiple batches photos from the same event but you don’t need to merge them together. For example, you might label a batch of photos from a vacation in 1987 and later find more photos from that same trip. Instead of wracking your brain and trying to find the matching sets of photos, just label the second batch with the same date and subject and we’ll use the Easy Index Scanning Workflow to merge them together in the end.
Don’t try to be perfect.
The goal of this process is completion, not perfection. For example, if you went on a 5-day trip and remember which days you took specific photos you could create a new batch for each day, but that’s probably overkill and you’ll never finish. Just make a batch card for the first day of the trip and keep all the photos together from that batch.
Don’t make stuff up.
If you’re not sure about the dates, subject, or people in a photo don’t make stuff up. Only write what you’re certain about on the batch card and move on to the next batch. Sometimes clues will appear that give us more clarity later in the process.
Keep prints and negatives together.
The most typical batch of photos is a photo processing envelope with prints and negatives in it. Keep the prints and negatives together to make the organizing and scanning process easier.
Photo Albums.
If your printed photos are in adhesive albums, the removal process can be delicate and tedious. Learn best practices in this blog post and contact us if you need help.
Not sure about dates?
Based on fashion and hairstyles we can usually identify at least the decade when a photo was taken, but if you really don’t know then label that batch as undated. Remember that your Family Photo Archive doesn’t have to be perfect, so don’t be paralyzed.
Miscellaneous is okay.
It’s easy to label a batch of photos with clear subjects such as graduation, wedding, and Thanksgiving. But sometimes you’ll discover a batch of photos that’s really a miscellaneous combination of subjects. In that situation it’s completely acceptable to use misc as your subject.
Conclusion
These are the best practices we use to organize photos for scanning. If you decide you want help, please reach out and the Chaos to Memories staff can tackle this for you. When you’re ready to have all your photos scanned, this process is the easiest way to get the best results and the most organized Family Photo Archive.
Interested in working with Chaos to Memories?
If you’re near Chicago and ready to get started, come visit our Wheaton Studio Monday – Friday, 10-5. Please bring your memories with you.
If you live outside the Chicagoland area, we’re happy to send you a Project Form and Contract, along with shipping instructions, so you can get started on your project.
Contact us for more information.