
Scanning Comparison: Negatives
Photo negatives are one of the most challenging things to scan because they’re so small and need to be converted to a positive image. There are also many more formats of negatives (110, 116, 120, 122, 126, 127, 135, 828, disc, etc.) than slides, which makes the process more complicated.
Scanning negatives requires more specialized equipment than scanning photo prints, but with the right setup you can capture and convert very high quality images. There are many different ways to scan negatives, so I decided to test several different devices and apps at different price points
For each sample I’ve included an unedited scan and a 100% screenshot so you can compare the details. At the end of the post I’ll include my conclusions and a download link to all all the original scans so you can compare for yourself.
The Negative
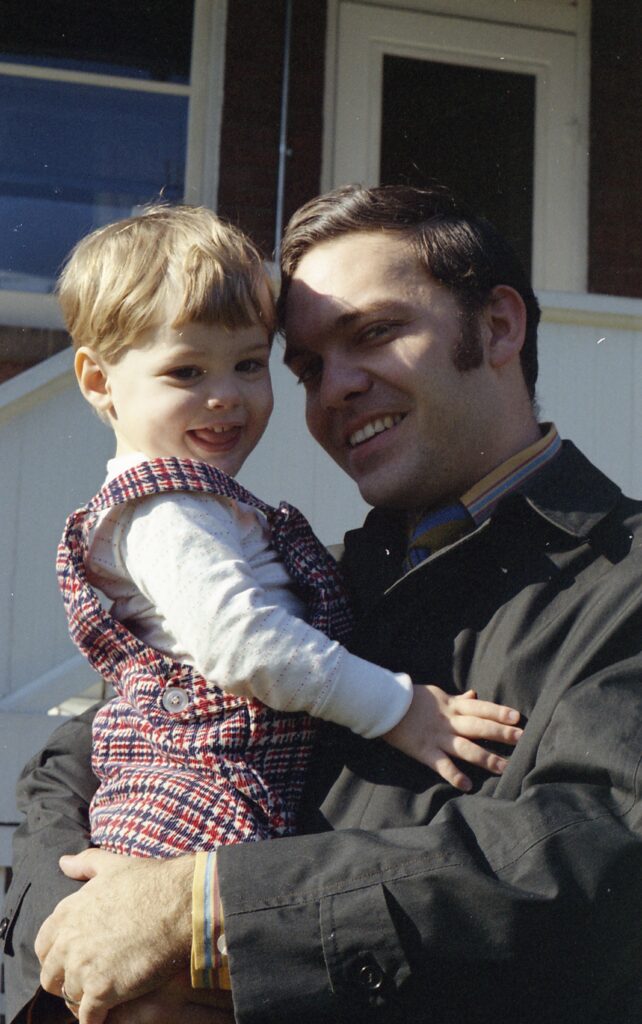
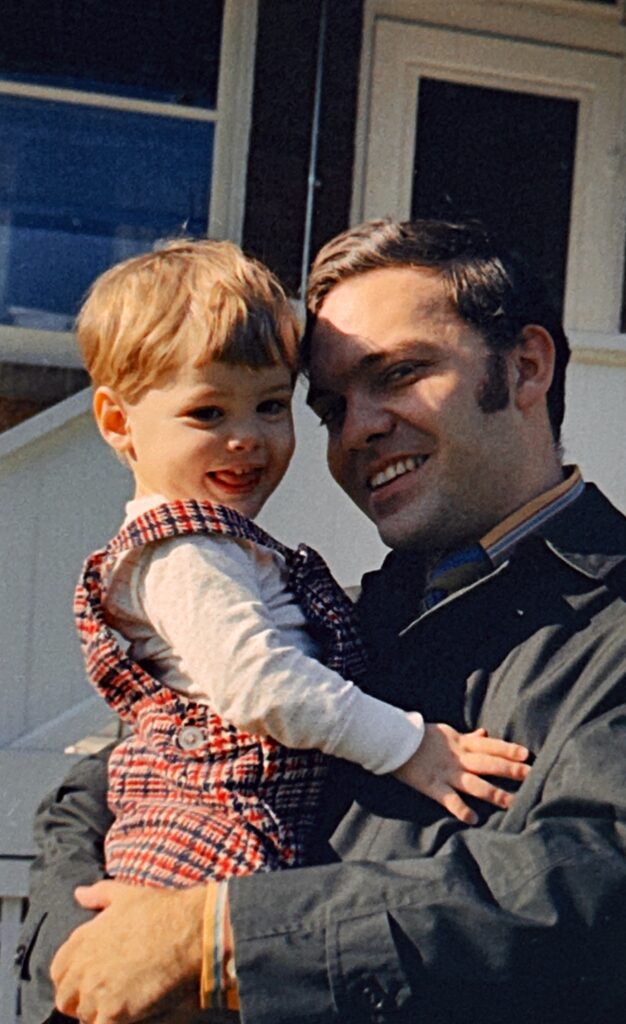
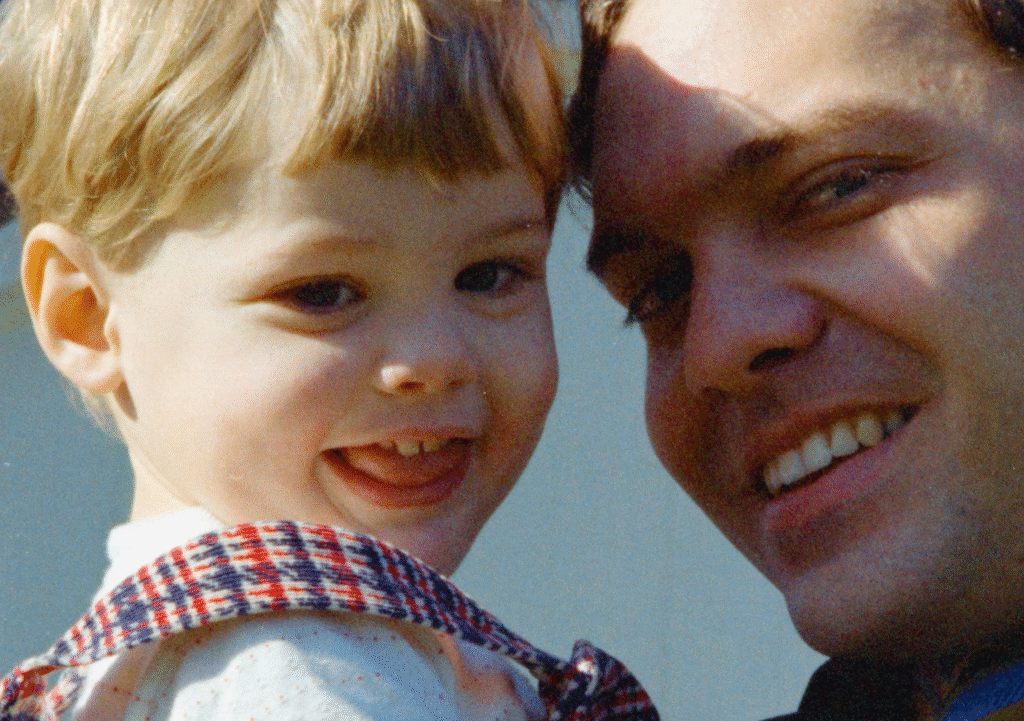
My sample negative is a 35mm color image of a father and child. I chose this image from a collection of abandoned family photos because it includes people and is a typical family snapshot.
The Process
I scanned each image with the bundled software for the device and in most cases I performed no post-processing (exposure, white balance, sharpening, etc.). The only scan I edited was the camera scan, which included white balance, crop, rotation, and conversion to positive using the Negative Lab Pro plug-in for Adobe Lightroom Classic.
I captured each scan at 4,000 PPI (pixels per inch) when I could control that setting. I timed the scanning process from start to finish for each device, but I didn’t include transfer times between phone and computer. When capturing with a mobile app, the whole process will taken even longer than listed below because you’ll want to transfer images from your phone to your computer.
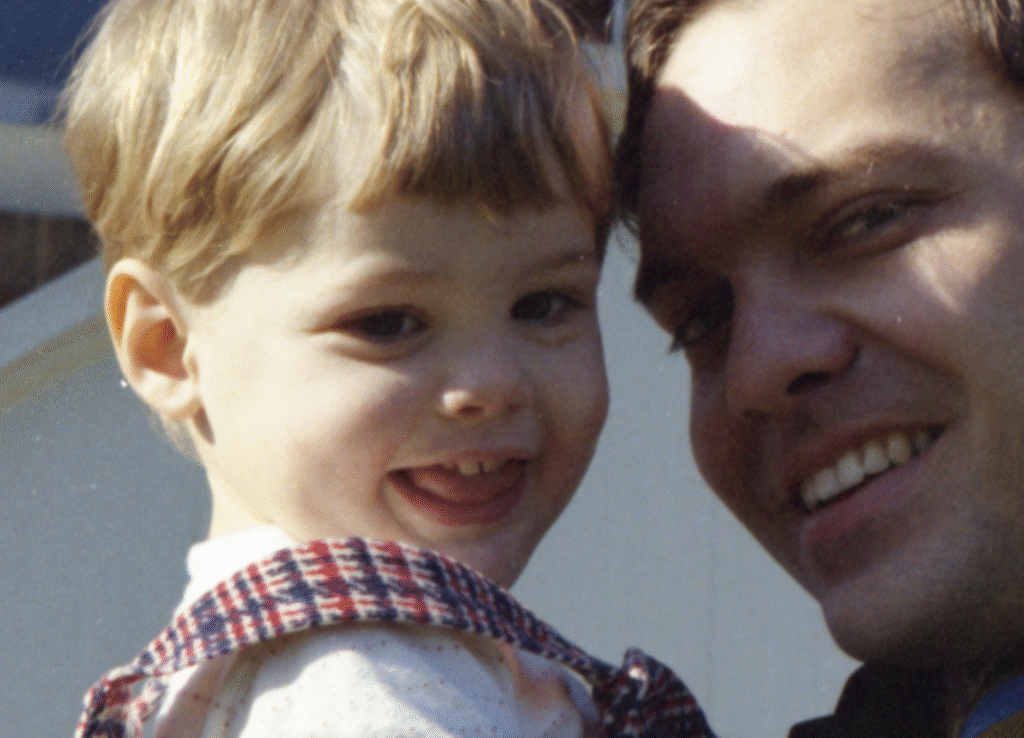
Epson V600
The Epson V600 is one of the most popular flatbed scanners on the market, but in 2025 it was discontinued and it appears that Epson has exited the pro flatbed scanner market. At this point you can only find used or refurbished units, but I decide to include this scanner in my comparison because it’s so popular.
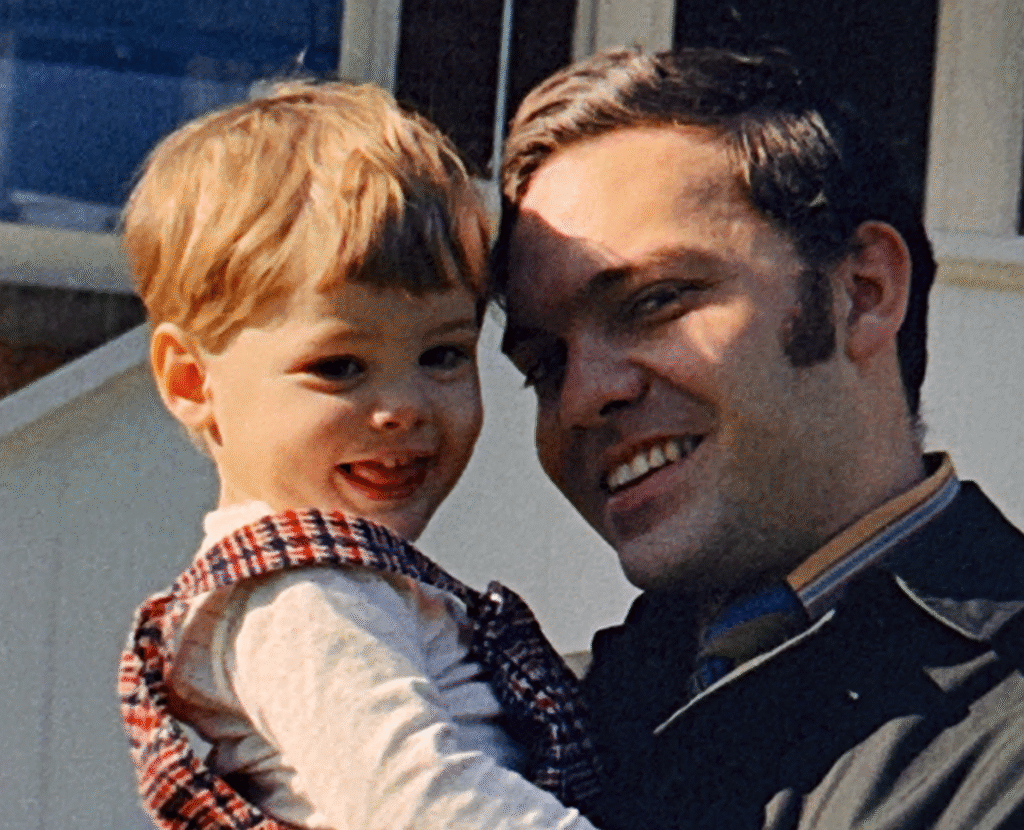
I used the bundled Epson Scan 2 software to scan the negative and the process took 82 seconds. The startup and preview process took an extra 27 seconds, but I didn’t include this in the scanning time. The resulting JPEG is 2.1 MB in file size, 3427×5467 pixels, and has a resolution of 3,627 PPI. It’s interesting that when I scanned a 35mm slide and a 35mm negative with the Epson scanner and set the resolution to 4,000 the results were closer to 3,600 PPI. I don’t understand why this scanner creates images that are consistently 10% lower resolution than specified.
The image quality is pretty good, but there was a lot of dust on the scanner glass. To get the best possible scan, I cleaned the glass and negative again, and completed a second scan. The second image had fewer dust spots, but the image was noticeably out of focus compared with the first scan. This highlights the challenge of using a flatbed scanner to scan film with tight tolerances but no option to focus the scanning element.

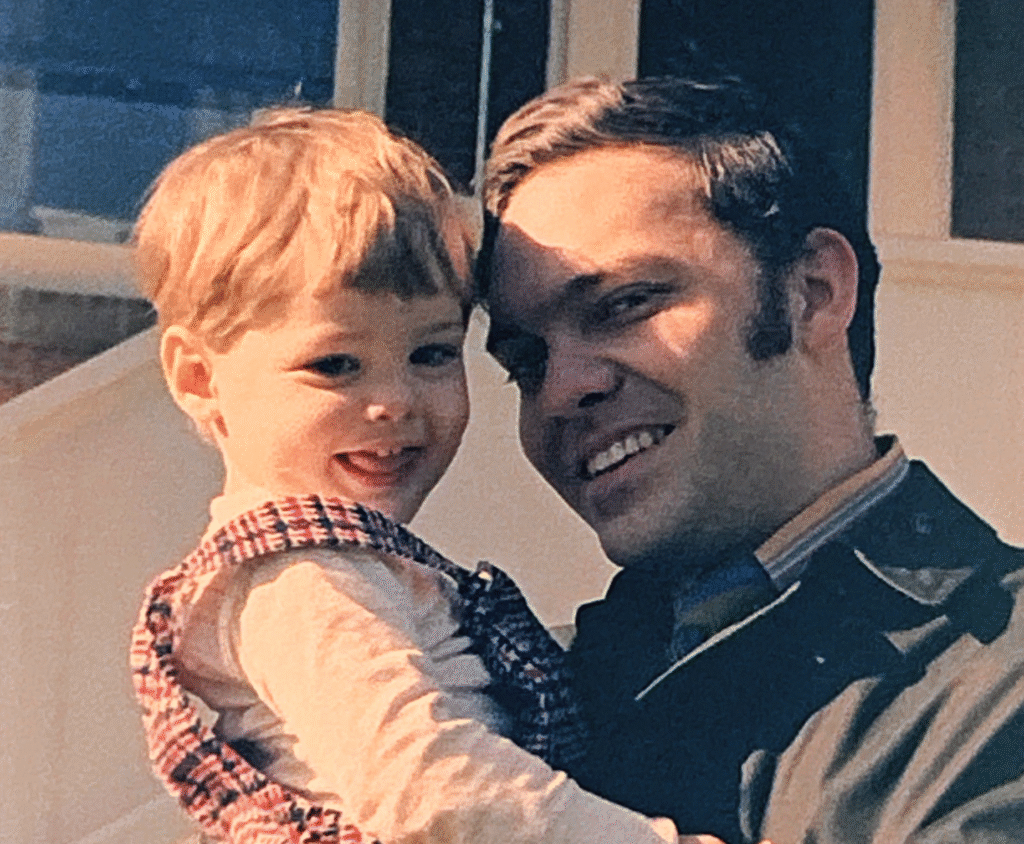
Photomyne App
Photomyne is a popular mobile app for iPhone and Android that claims to offer “the world’s best photo scanning apps.” I’ve been scanning photos for decades and understand how tedious this work can be, so the claim that “Photomyne is the fastest and easiest way to turn photos, slides, negatives, and other family keepsakes into a digital library” got my attention.
The scanning process only took 5 seconds, but the steps to save the photo to my camera roll and transfer it to my computer took ten more seconds. I scanned the same negative two times but with different light sources. The first light source was a white computer screen as suggested by the Photomyne developer, and the second light source is a professional LED light with a dedicated 35mm slide holder.
The file size, pixel dimensions, and resolution of the two Photomyne images were similar, but both were some of the worst images in the entire test. That said, using a professional light source and film holder rendered a significantly better image than holding the negative in front of my laptop screen.
These images are less than 1MB in files size, about 1900×3000 pixels, and about 2,000 PPI in resolution. The slide scans I captured with Photomyne were very poor quality, but the Photomyne negative conversion is even worse. Not only are the colors and quality terrible, but the automatic cropping created noticeably different images.
Kodak Scanza
The Kodak Scanza is what I consider a gadget scanner. Instead of connecting to a computer, this little device digitizes slides and negatives and stores them on an SD memory card that you later transfer to your computer. The device is simple and easy to use, but with very few options or user controls
I scanned one negative in two seconds, not including the 15 seconds it took to load the negative in the fiddly film holder and align it in the device.
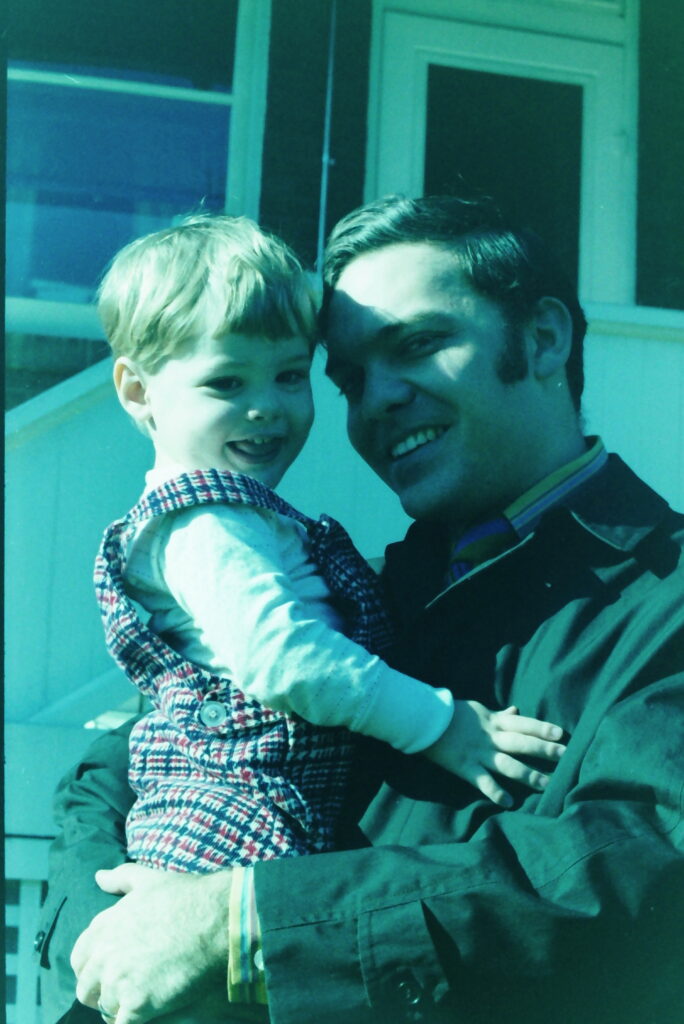
The Kodak Scanza created a 4.5 MB JPEG file with pixel dimensions of 3824×5728 and a resolution of 4047 PPI. When I scanned a slide with this device the results weren’t awesome, but they were usable. Meanwhile, the negative scan rendered a dark blue image that I consider unusable. The results were so poor that I thought I must have made a mistake. So I turned off the device, started from scratch, checked all the settings, and scanned the negative again. And I got the same terrible results. I cannot recommend use the Kodak Scanza for any negative scanning.

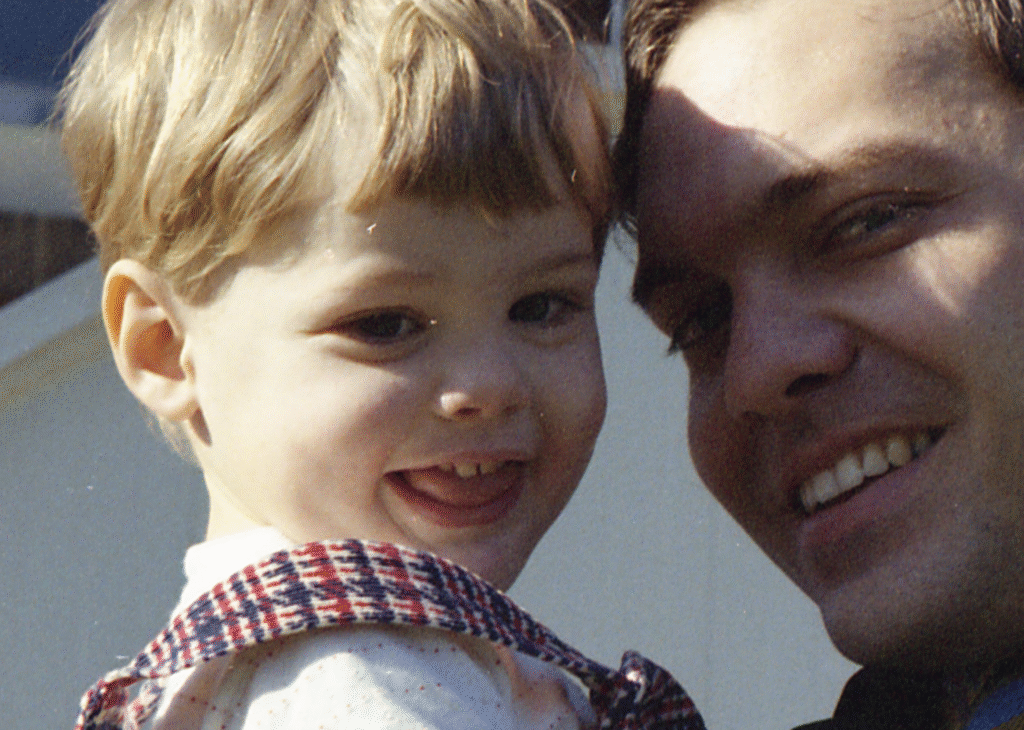
Camera Scan with Canon 5DSR
Camera scanning is the process of using digital camera gear to digitize photographic materials. We used a Canon 5DSR digital camera, professional macro lens, copy stand, LED light source, and film holder.
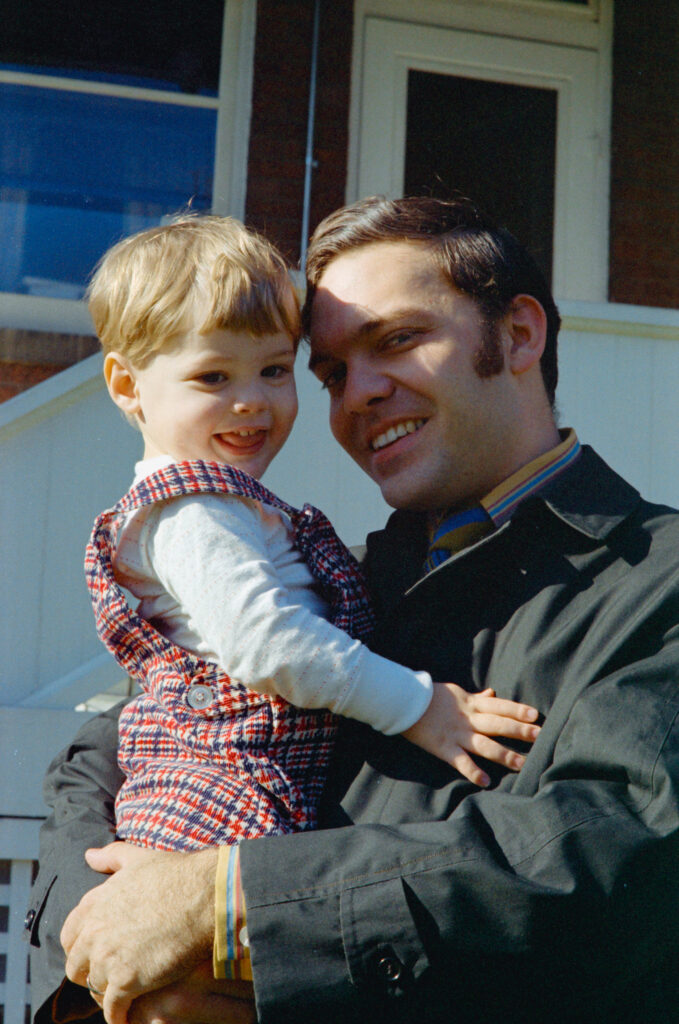
The capture only took 1/50 of a second and the final image is a JPEG that’s 4770×7192 pixels, 7.1 MB in size, and a resolution of 5,048 PPI. The whole process of capturing, transferring, white balancing, cropping, rotating, and converting the image in Adobe Lightroom Classic took 22 seconds. I should note here that 4,000 is the highest usable resolution for scanning most negatives. I achieved 5,000+ PPI in 1/50 of a second, but it’s overkill and a function of the high-resolution cameras we use.
No post-processing other than converting to positive with the Negative Lab Pro plug-in was applied to the image and it’s definitely the image with the best color, resolution, overall quality, and complete image area.
Conclusion
I love scanning negatives, but it’s tedious and the conversion process can be challenging. Therefore, it’s important to get the best quality with the most efficient process. Here’s a summary table of the negative scanning options I tested:
| Scanning Device/App | Time in seconds | File size in MB | Pixel dimensions | Image resolution |
| Epson V600 | 82 | 2.1 | 3427×5467 | 3627 PPI |
| Camera Scan | 22 | 7.1 | 4770×7192 | 5048 PPI |
| Photomyne screen | 5 | 0.94 | 1866×2846 | 1975 PPI |
| Photomyne LED light | 5 | 0.9 | 1891×3093 | 2001 PPI |
| Kodak Scanza | 2 | 4.5 | 3824×5728 | 4047 PPI |
Even though the Epson V600 is a very popular scanner for scanning negatives, I found the results to be mediocre, inconsistent, and painfully slow. Don’t forget this scanner has been discontinued and Epson has not announced a replacement.
Scanning with the Photomyne app and Kodak Scanza device were the fastest options, but the results were terrible. I wouldn’t recommend any of these options.
Camera scanning requires more expensive equipment and setup, but the digital image is the best of this lineup and most faithful to the original. Camera scanning also offers the flexibility to digitize many sizes and formats with the same equipment. Because of the quality, flexibility, and efficiency of the overall workflow, we exclusively use the camera scanning method in the Chaos to Memories studio. If you want to learn more about camera scanning, we offer an online course called The Practical Guide to Camera Scanning.
Want to see the results for yourself? Download the original scans here.
Interested in working with Chaos to Memories?
If you’re near Chicago and ready to get started to work with a professional photo organizer, come visit our Wheaton Studio Monday – Friday, 10-5. Please bring your memories with you.
If you live outside the Chicagoland area, we’re happy to send you a Project Form and Contract, along with shipping instructions, so you can get started on your project.
Contact us for more information.